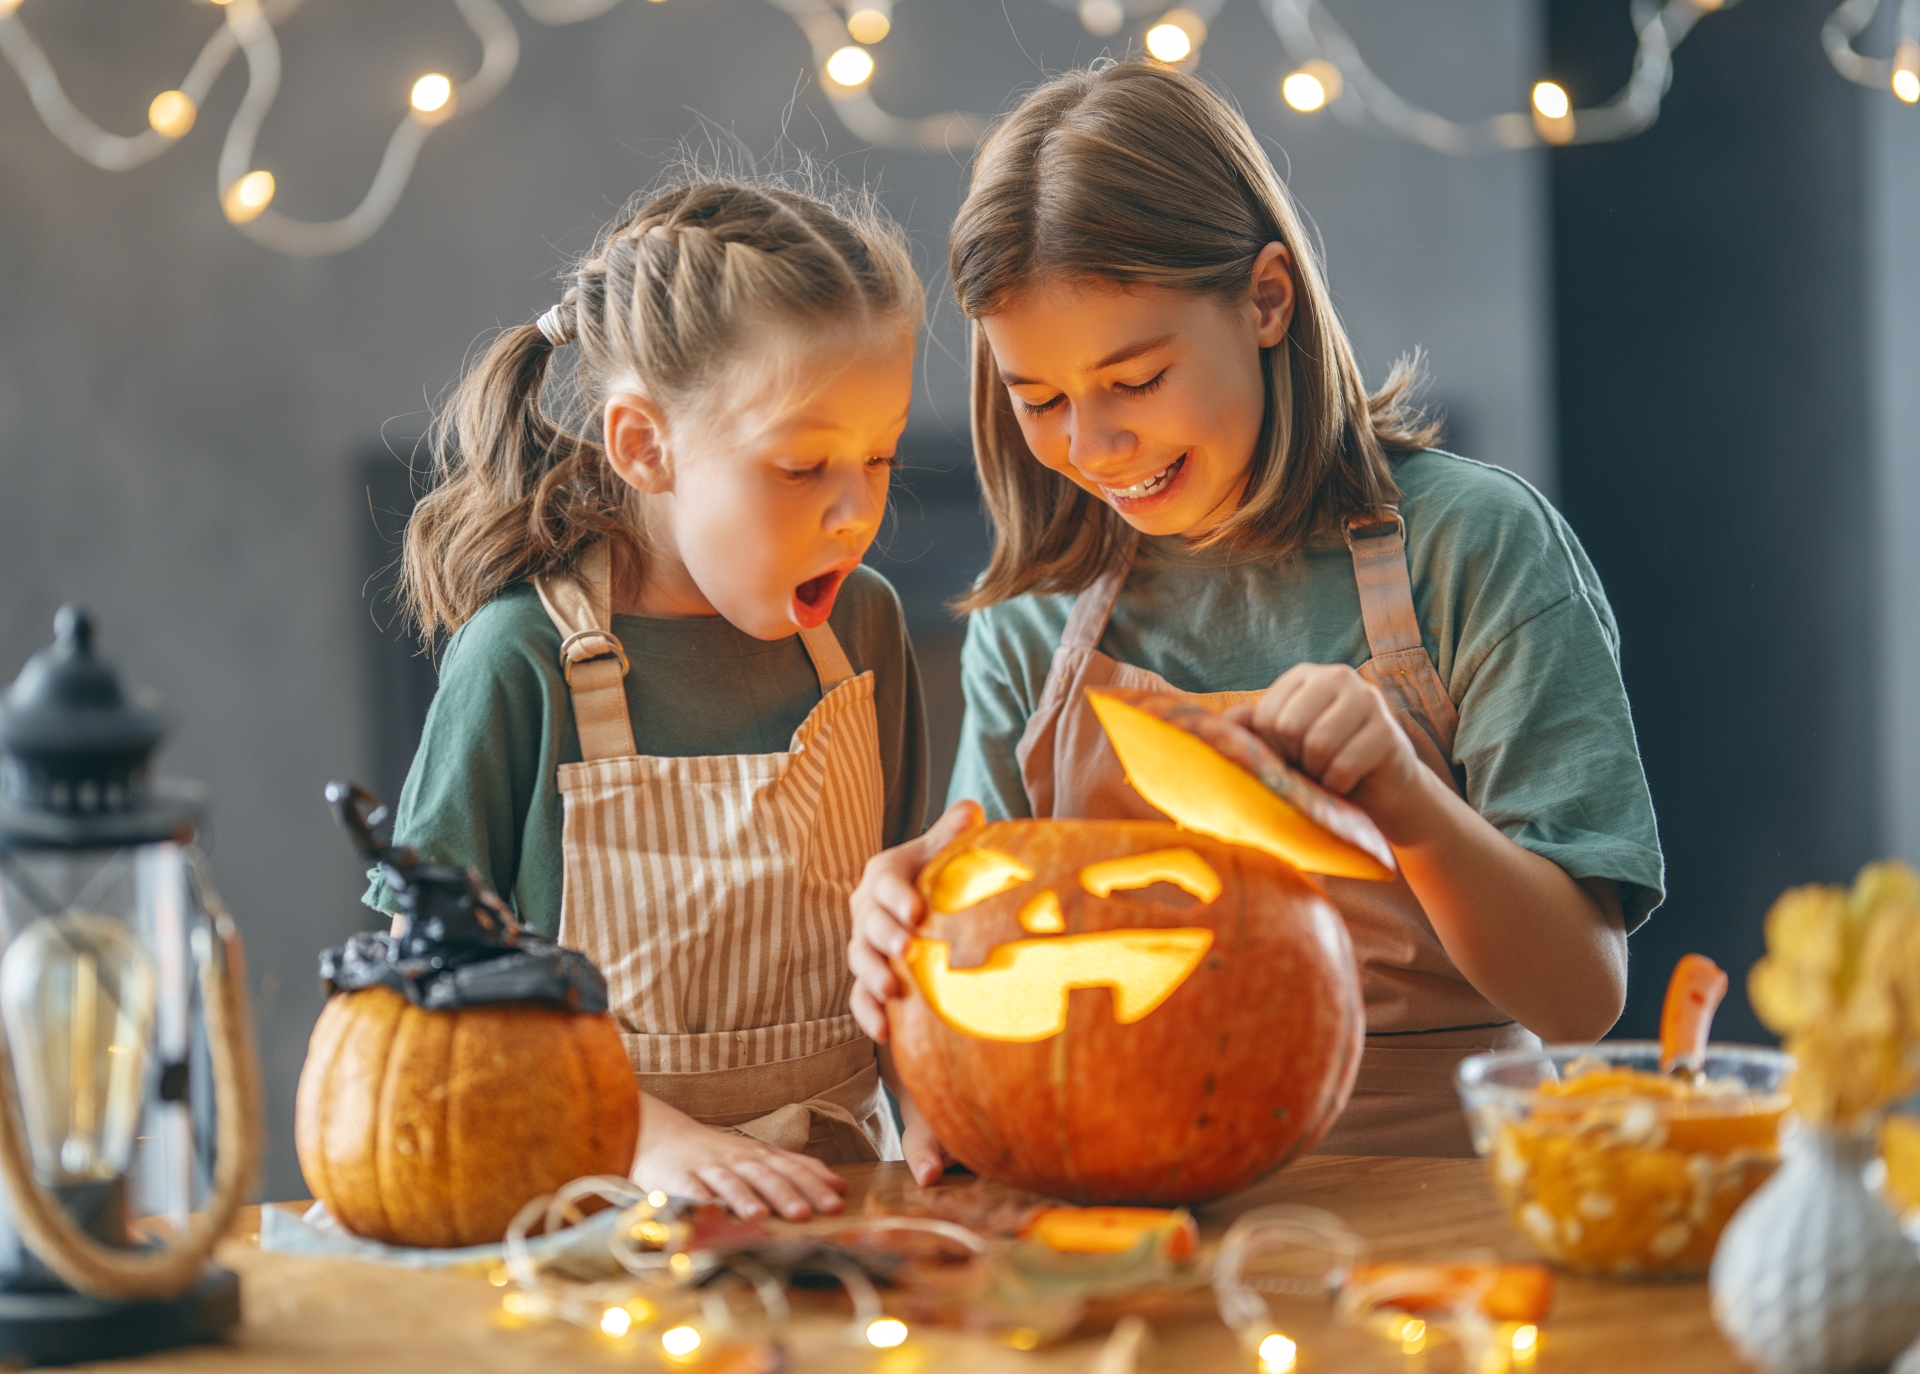
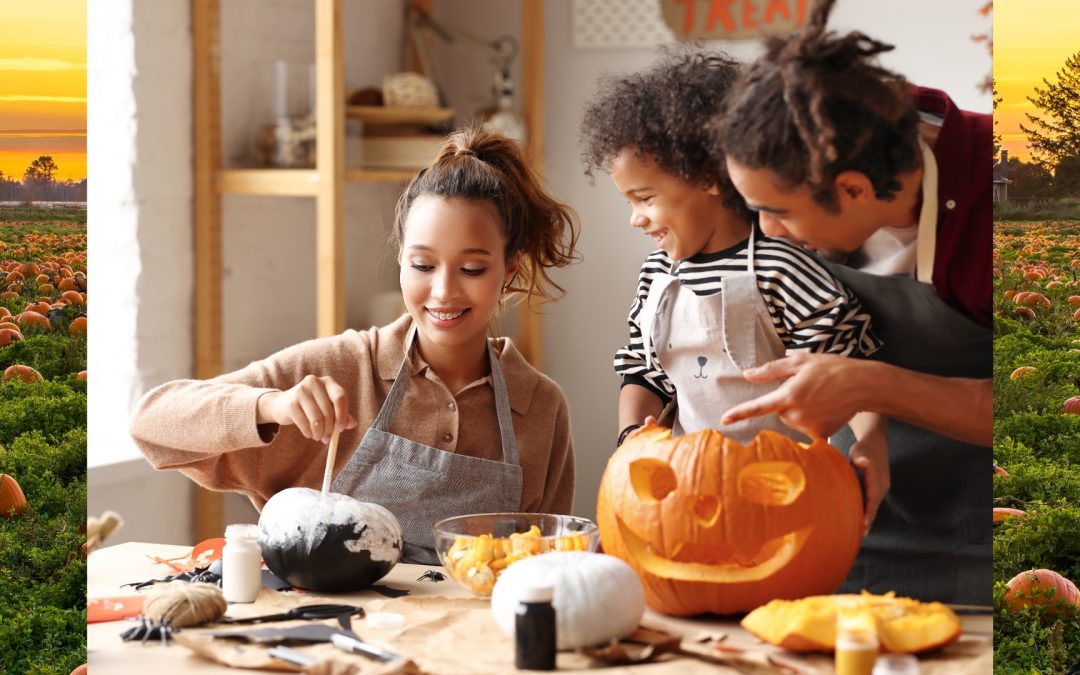
When autumn arrives, the cool air and colorful leaves signal the start of some of the season’s best traditions—like pumpkin carving! This family-friendly activity is a fun way to bring everyone together for a festive, creative, and memorable experience. Whether you’re new to pumpkin carving or looking to improve your skills, there are plenty of tips and tricks to help you create the perfect jack-o’-lantern that fits your style. Now let’s have some quality family time!
1. Pick the Right Pumpkin
Choosing the right pumpkin is the first step to creating a successful jack-o’-lantern. Pumpkins have their own size, shape, and personality, so consider the following:
- Size: If you’re planning to carve intricate designs, go for a larger pumpkin that offers more surface area. Smaller pumpkins are great for simple designs or if younger children are involved.
- Shape: Look for a pumpkin with a relatively smooth, even surface. A round or oval shape will make it easier to carve and give you more design options. Avoid pumpkins with too many bumps or imperfections, as these can make it tricky to carve detailed designs.
- Firmness: Choose a pumpkin that feels firm when pressed, especially around the stem. A firm pumpkin is likely to last longer and is easier to carve. Avoid pumpkins with soft spots or cracks, as these may rot quickly or be harder to work with.
- Shop Autumn Harvest Pumpkin’s Kids Choice

2. Prep the Pumpkin for Carving
Proper preparation is key to ensuring your pumpkin lasts longer and stays fresh. Before you start carving, follow these steps to givey our pumpkin the best start.
- Wash: Use a damp cloth to wipe off any dirt or debris from the outside of the pumpkin.
- Cut from the Bottom: Instead of cutting the top off to create a lid, consider cutting a hole in the bottom of the pumpkin. This makes it easier to place your carved pumpkin over a candle or LED light, and it helps prevent the top from caving in over time.
- Scoop Out the Insides: Once the bottom is removed, use a large spoon or pumpkin scraper to scoop out the seeds and pulp. Be thorough—removing as much of the stringy flesh as possible will help keep your pumpkin fresher for longer. You can save the seeds to roast for a tasty snack!
3. Choose the Right Tools
Using the right tools will make pumpkin carving easier and safer, especially when children are involved. You don’t need fancy or expensive tools, but having a few basic items on hand can make a big difference.
- Pumpkin Carving Kit: Many stores sell affordable pumpkin carving kits that include small, serrated saws and scoops designed specifically for this purpose. These tools are safer than kitchen knives, especially for kids, and make it easier to create detailed designs.
- Stencils and Templates: If you’re not confident in freehand carving, print out or buy stencils to guide your design. Tape the stencil to the pumpkin and use a pin or toothpick to poke holes along the design lines before carving.
- Markers and Pens: Use a marker to draw your design on the pumpkin before you start carving. This will help you stay on track and avoid mistakes. You can easily wipe off any stray lines after you’ve finished.
4. Carving Tips and Techniques
Now that you’re prepped and ready, let’s carve! Use the following helpful tips and techniques to help you create the best jack-o’-lantern:
- Start with Simple Shapes: If you’re a beginner or working with young children, keep the design simple by using basic shapes like triangles or circles. Simple designs are easier to carve and look just as great as complex ones.
- Carve Slowly: Take your time and carve slowly to avoid mistakes. It’s best to start with small cuts and gradually expand them if needed, rather than cutting too much at once.
- Use a Sawing Motion: Instead of pushing the knife or saw straight through, use a gentle sawing motion. This will give you more control and make it easier to follow your design lines.
- Work from the Center Out: Start carving in the center of your design and work your way out to the edges. This prevents you from accidentally breaking off any small sections as you carve.

5. Lighting Your Pumpkin
One of the most exciting parts of pumpkin carving is seeing your design glow in the dark! There are a few ways to safely light up your pumpkin and make it shine.
- LED Lights or Tea Lights: Battery-operated LED lights are a great alternative to traditional candles. They’re safer, last longer, and come in various colors to add an extra festive touch. Flameless tea lights are another good option, especially if you’re worried about fire hazards.
- Candles: If you prefer the classic look of a candle-lit pumpkin, use a small tea light or votive candle. Always keep an eye on the pumpkin while the candle is lit and avoid leaving it unattended.
6. Preserve Your Pumpkin
To keep your carved pumpkin looking fresh for as long as possible, follow these preservation tips:
- Keep It Cool: Pumpkins tend to rot more quickly in warm environments, so keep your carved jack-o’-lantern in a cool, shaded area. If possible, bring it inside during the day and display it outside only at night.
- Spray with Water and Vinegar: Mix equal parts water and vinegar in a spray bottle and lightly mist the inside and outside of the pumpkin. This helps kill bacteria and mold, which can make your pumpkin decay faster.
- Use Petroleum Jelly: After carving, apply a thin layer of petroleum jelly to the cut edges of your pumpkin. This helps seal in moisture and keeps the pumpkin from drying out.
A Fun and Memorable Fall Activity
Pumpkin carving is the perfect way to celebrate fall with your family. By following these tips – choosing the right pumpkin, using the proper tools, and carving carefully – you’ll be able to create jack-o’-lanterns that will wow your friends and neighbors. Most importantly, you’ll enjoy experiencing an activity that brings your family together. So gather your pumpkins, grab your carving tools, and let the fun begin!


